candle care
- on your first burn, let the entire surface pool before blowing out; candle will burn evenly every time there after
- keep wick trimmed to 1/4" before each burn
- trim wick your wick every couple of hours
- to prevent fire and serious injury, do not let flame burn over 1" high
- keep candle wick centered and free of any foreign objects including wick trimmings
- never leave candle unattended
- keep out of reach of children and pets
- place on a temperature safe surface
- do not burn near anything flammable
- do not attempt to burn if vessel is cracked or damaged
- do not burn for longer than 4 hours at a time
- discontinue burning the candle when 1/4" of wax remains
to understand wax memory we need to talk about what happens during the lifecycle of a candle.
when candle wax melts, it becomes a liquid, but when it cools back into a solid, it’s not as “hard” as it was before lighting the wick. depending on the wax, it could take a few days or even two weeks before it’s as “hard” as it was before you lit the wick.
this means freshly melted wax is softer, and takes much less heat to re-melt into a liquid again. when you re-light the wick, the previously-melted area will melt first, and much more quickly than the rest of the wax.
wax memory is the area of the candle that melts more quickly than the rest of the candle because it hasn’t cooled back to its original hardness.
if you don’t allow the candle enough time to melt more of the outer ring of wax and increase its memory, the wick will begin to tunnel downwards until it’s impossible for the flame to melt the outer ring at all because the heat is too low. the candle will keep melting the softest part of the wax until it runs out of oxygen or gets to the bottom, while leaving a large ring of unmelted wax in your jar.
burn the candle for at least 3 hours.
this isn't a hard and fast rule, but you want to make sure the candle has time to start melting. if it burns too deep before melting anything else, the flame won’t have the opportunity to properly melt the surface and it will become a problem.
things happen — sometimes you light a candle only to realize you have to extinguish it right away.
that’s fine! but make sure you give the candle an opportunity to burn for at least 3 to 4 hours in its first few “sessions.”
if you don’t let it burn long enough, wax memory will remain small and your candle will probably start tunneling.
barely tunneling: burn the candle for a long time.
If the candle is barely tunneling, it might just fix itself if you give the candle enough time to burn.
theoretically, a well-designed candle will eventually melt, or “clean” all the wax off the sides. when your candle shows minimal signs of tunneling, it’s worth letting it burn for an extended period of time to see if it fixes itself.
the remedy? burn the candle for 3-4 hours at least twice. if that doesn’t help, move on to the next step.
moderate tunneling: put tinfoil around the edge of the candle and let it burn for a few hours.
when your candle has the right size wick tunnels because it wasn't burned long enough, it’s time to try something more aggressive.
the theory goes, you can melt down the “shelf” of wax with heat from the candle by redirecting that heat back to the wax using tinfoil!
trim your wick to 1/4", place foil over the top of the candle, then cut an opening on the top roughly 1″ wide, or sized so that the tinfoil remains above the wax shelf. carefully light the candle and allow it to burn for 3-4 hours. repeat as needed.
severe tunneling: wick replacement
if your wick is swallowed up in wax, or the tunneling is too tall to be corrected using the previous methods, your only option is to completely replace the wick.
if this is the case, please feel free to bring or ship your tunneled candle back to often wander and we will do our best to revive it!

how to clean your vessels
you'll need a metal spoon, paper towels or cleaning rags, and glass cleaner in a spray bottle or soap and hot water.

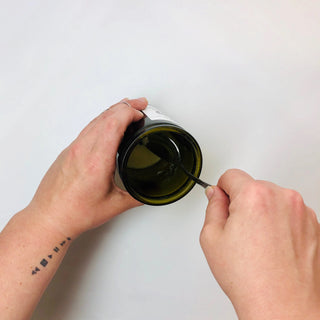
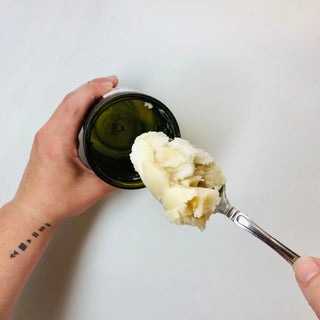
scoop any remaining wax out of the bottom of the vessel with the spoon. also use the spoon to dislodge the base of the wick and remove from the vessel. discard both.

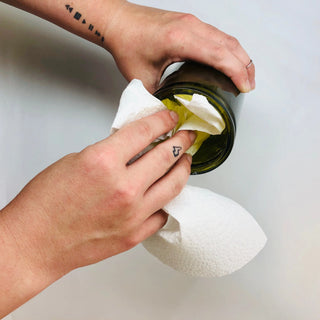
use paper towels (or cleaning rags) to wipe out excess wax residue from the walls and the bottom of the vessel.
use a cleaning solution to remove stubborn soot and wax residue. continue wiping until vessel is thoroughly clean.

your vessel is ready for a new life!

